
How to Manage DNS Records in cPanel
How to Manage DNS Records in cPanel
The Zone Editor in cPanel allows you to manage your domain's DNS records. You can add, edit, or remove DNS entries to connect your website, email services, subdomains, and third-party applications.
Steps to Manage DNS Records
- Log in to your cPanel account.
- Go to the Domains section and click Zone Editor.
- Select the domain you want to manage.
- Click Manage next to the domain.
- Add, edit, or delete the required DNS record.
- Save your changes.
- Allow DNS propagation, which may take up to 24 hours.
Common DNS Records
- A Record – Points your domain to an IPv4 address.
- AAAA Record – Points your domain to an IPv6 address.
- CNAME Record – Creates an alias for another domain.
- MX Record – Directs email to your mail server.
- TXT Record – Used for domain verification, SPF, DKIM, and DMARC.
Final Thoughts
Managing DNS records in cPanel is simple with the Zone Editor. Always double-check your DNS settings before saving changes, as incorrect records may affect your website or email services.
Was this article helpful?
Related Articles
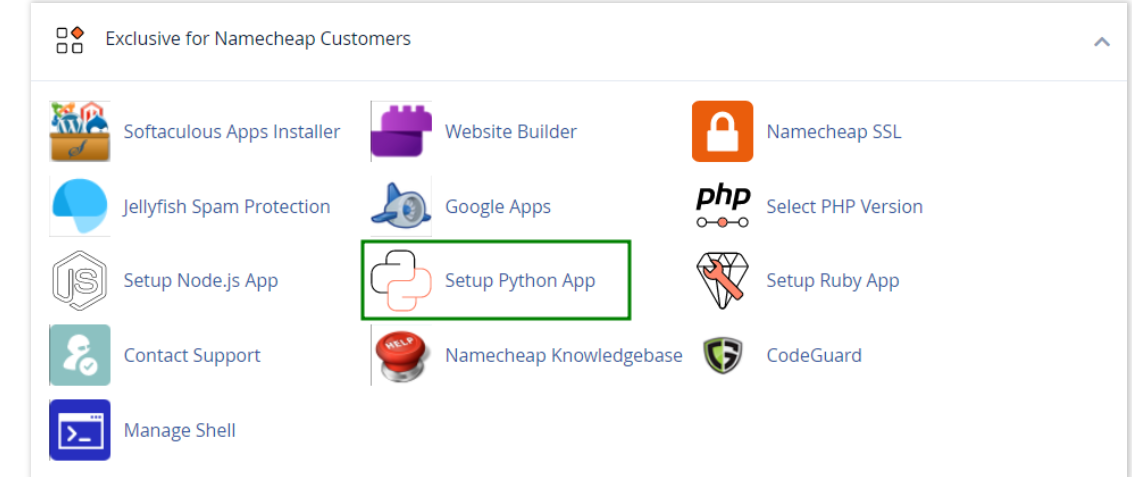
How to work with Python App
The Setup Python App feature allows you to deploy Python applications on your cPanel while running the LiteSpeed web server.
How to Check Disk Usage in cPanel
Deprecated: htmlspecialchars(): Passing null to parameter #1 ($string) of type string is deprecated in /home/u168088175/domains/banglahostbd.com/public_html/support/kb/single_article.php on line 355
How to Login to cPanel
Deprecated: htmlspecialchars(): Passing null to parameter #1 ($string) of type string is deprecated in /home/u168088175/domains/banglahostbd.com/public_html/support/kb/single_article.php on line 355